 Pin It
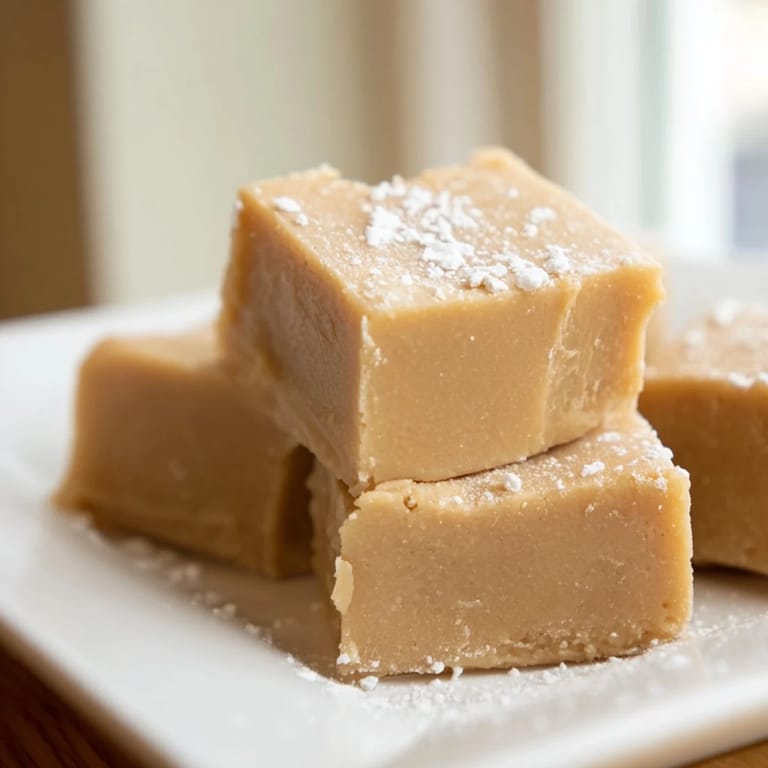
 There's something about homemade peanut butter fudge that stops me mid-afternoon—that moment when I'm standing at the kitchen counter, needing something sweet, and I realize I have butter, peanut butter, and sugar. Twenty minutes later, my hands are sticky, my spatula's coated in this creamy dream, and I'm already planning how many pieces I can reasonably eat before someone finds them. This fudge isn't complicated or fancy, but it tastes like someone who actually cares made it, because someone did.
I made this for my neighbor last winter when her daughter was going through a rough time at school, and Sarah texted me later saying her kid actually smiled while eating a piece. That's when I realized fudge isn't really about sugar and butter—it's about showing up with something warm and made by your own hands, saying without words that you were thinking of someone.
Ingredients
- Unsalted butter, 1 cup (225 g): Use unsalted so you control the salt balance; salted butter can make the fudge taste one-note.
- Creamy peanut butter, 1 cup (250 g): Smooth is essential here—chunky will make the texture grainy and uneven unless that's your intentional move.
- Pure vanilla extract, 1 teaspoon: This quietly deepens the peanut flavor and keeps it from tasting one-dimensional.
- Confectioners sugar, 3½ cups (420 g), sifted: Sift it before measuring or you'll end up with a dense brick instead of silky fudge; I learned this the hard way twice.
Tired of Takeout? 🥡
Get 10 meals you can make faster than delivery arrives. Seriously.
One email. No spam. Unsubscribe anytime.
Instructions
- Prep your pan:
- Line an 8x8-inch baking pan with parchment paper so it overhangs the sides—this is how you lift the whole block out without it crumbling or breaking apart.
- Melt butter and peanut butter together:
- In a medium saucepan over medium heat, combine both and stir constantly until they're glossy and completely smooth, about 3–4 minutes. You'll smell when it's getting close to ready.
- Bring it off heat and add vanilla:
- Stir it in while the mixture is warm so it distributes evenly and the aroma blooms through the whole batch.
- Gradually stir in the sifted sugar:
- Add it slowly and stir hard—this takes effort, and that's when you know you're creating something worth eating. The mixture will go from glossy to thick and almost paste-like.
- Pour and smooth:
- Pour everything into your prepared pan and use a spatula to press it flat and even across the top. Take a second to do this well because the finished fudge will reflect how smoothly you pressed it.
- Chill until firm:
- Refrigerate for at least 1 hour—don't skip this or you'll end up cutting into warm fudge and it'll be a crumbly mess.
- Cut into squares:
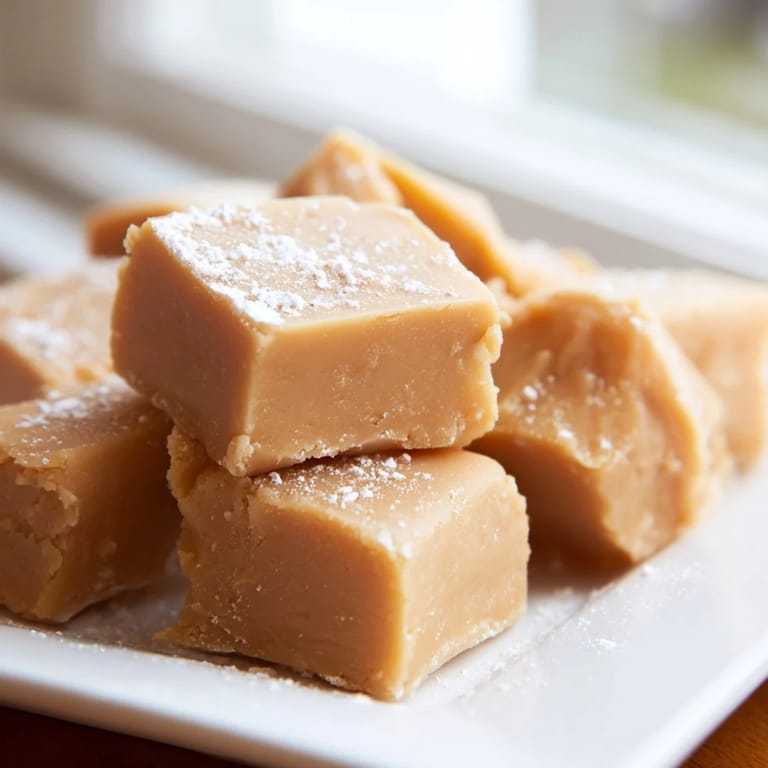
- Lift the whole block out using the parchment overhang and place it on a cutting board. Use a sharp knife and cut it into 36 pieces, wiping your blade between cuts for clean edges.
 Pin It
 My mom once brought a box of my fudge to her book club and apparently someone asked for the recipe, which made her visibly proud in a way that still makes me laugh. It was just peanut butter fudge, but somehow it mattered that I'd made it.
Flavor Variations That Feel Like New Discoveries
Once you nail the basic recipe, you start seeing possibilities everywhere. I've folded roasted salted peanuts into the mixture before pouring to add a textural contrast that makes it feel less one-note, or swirled in melted semi-sweet chocolate just before chilling for a peanut butter cup experience without all the fussing. Almond butter instead of peanut creates something more delicate and refined, which sounds fancy but is just as easy.
Storage and Shelf Life
Fudge keeps refrigerated in an airtight container for a week without any trouble, or you can freeze it for up to two months if you're thinking ahead. I usually cut mine into pieces, layer them with parchment in a container, and keep them cold because fudge at room temperature starts getting soft and smudgy after an hour or so.
Little Details That Make the Difference
The quality of your peanut butter matters more than you'd think—something with more character makes the whole fudge taste better. Room temperature ingredients mix more smoothly than cold ones, so pull your butter and peanut butter out of the fridge 30 minutes before you start. The vanilla isn't optional; it's the quiet voice that says this wasn't just thrown together.
- Wipe your knife between cuts with a warm, damp cloth so you get clean edges instead of frosting-covered chaos.
- If you accidentally over-mixed or the texture feels odd, don't panic—re-melt it gently in the saucepan and pour again.
- Homemade fudge is softer than store-bought because there's nothing artificial holding it rigid, so set expectations accordingly.
 Pin It
 Peanut butter fudge is proof that the best things don't have to be complicated or require special skills—just honest ingredients and a willingness to stir. Make it, share it, and watch people's faces light up the way they always do.
Recipe FAQs
- → How do I achieve the smooth texture?
Constantly stirring butter and peanut butter over medium heat until fully melted ensures a creamy base before adding sugar.
- → Can I add nuts for a crunch?
Yes, folding in roasted salted peanuts before chilling adds a delightful chunky texture.
- → What substitution options exist for peanut butter?
Almond butter can replace peanut butter for a different flavor profile while maintaining creaminess.
- → How do I store the fudge for freshness?
Store chilled in an airtight container for up to one week or freeze for up to two months.
- → Is it possible to add chocolate flavor?
Swirling in melted semi-sweet chocolate before chilling creates a rich chocolate-peanut butter blend.