 Pin It
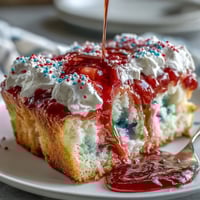
 There's something magical about the smell of chocolate hitting hot butter and sugar, and one lazy afternoon I discovered you don't need an oven to make it happen. A friend had mentioned these no-bake drops in passing, and I was skeptical until the moment that creamy mixture came together on my stovetop—thick, glossy, and absolutely irresistible. Five minutes of heat and suddenly I was dropping spoonfuls onto parchment paper, watching them set like little edible treasures right before my eyes. No waiting for the oven to preheat, no stress about timing. Just chocolate, oats, and the kind of instant gratification that reminds you why you love cooking.
I remember bringing a batch to my neighbor's porch one summer evening, still slightly warm from setting, and she took one bite and immediately asked for the recipe. What struck me most was how she described them as tasting homemade in a way that felt honest, not fussy—like someone actually made them in their kitchen rather than buying them somewhere. That moment made me realize these cookies sit in this perfect sweet spot between effort and reward, and they've been my go-to ever since for unexpected visitors or just because.
Ingredients
- Unsalted butter: Use fresh, good quality butter here since it's doing the heavy lifting in the flavor department and there's nowhere for it to hide.
- Granulated sugar: This is your base sweetness and helps create that perfect thick consistency when heated with the milk.
- Whole milk: It tempers the intensity of the cocoa and creates the creamy texture that makes these cookies feel luxurious.
- Creamy peanut butter: Stir yours well before measuring if it's the natural kind with oil on top, it makes a real difference in consistency.
- Vanilla extract: A small amount but it brightens everything and keeps the chocolate from feeling one-note.
- Unsweetened cocoa powder: Don't skip quality here; cheaper cocoa can taste dusty and bitter no matter what else you do.
- Old-fashioned rolled oats: The chunkier texture holds up beautifully in these cookies and gives you those satisfying oat bites in every bite.
- Salt: Just a pinch to wake up all those rich flavors and keep the sweetness from becoming cloying.
Tired of Takeout? 🥡
Get 10 meals you can make faster than delivery arrives. Seriously.
One email. No spam. Unsubscribe anytime.
Instructions
- Set up your station:
- Line two baking sheets with parchment paper and have everything measured and ready before you start heating, because once this mixture boils it moves fast and you won't have time to hunt for the oats.
- Combine the wet base:
- In a medium saucepan, combine butter, sugar, milk, and cocoa powder over medium heat, stirring often until you hit that rolling boil—you'll know it when you see it, big bubbles breaking the surface constantly. The mixture will go from looking grainy to silky smooth as the cocoa fully dissolves.
- Let it boil:
- Once boiling, keep stirring and let it go for exactly one minute, no more no less, because this matters for the final texture. You're cooking off just enough moisture so the cookies set properly without getting hard.
- Build the flavor:
- Pull from heat and immediately stir in peanut butter, vanilla, and salt until everything is smooth and integrated. The peanut butter will soften beautifully in the residual heat, making this part actually easy and smooth.
- Incorporate the oats:
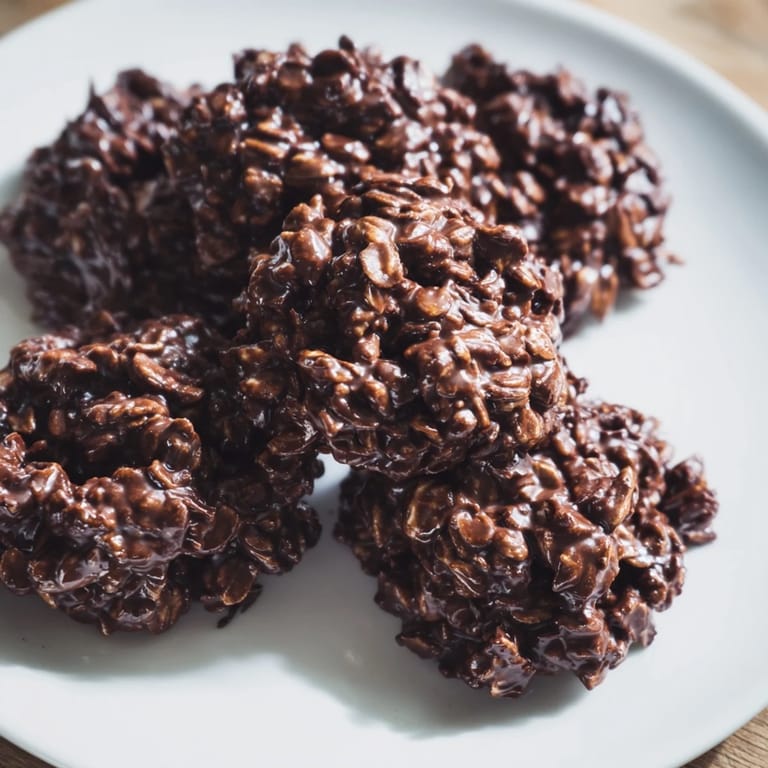
- Fold in the oats until every single bit is coated in that chocolate mixture, which usually takes a bit more stirring than you'd expect but it's worth being thorough. The mixture should look thick and cohesive, almost like chunky fudge.
- Drop and space:
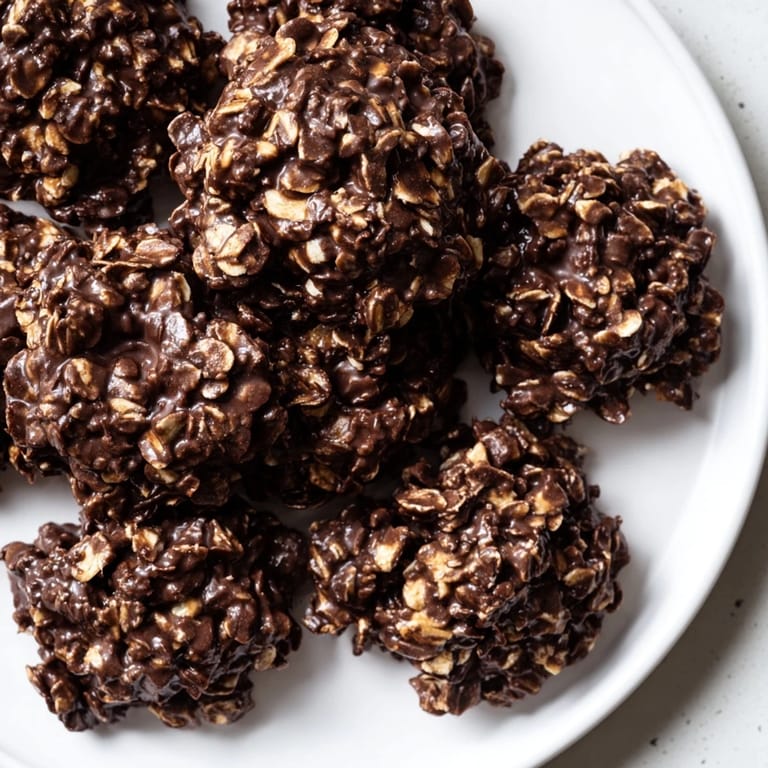
- Using a tablespoon or cookie scoop, drop mounds onto your prepared sheets about two inches apart so they have room to firm up without touching. Each cookie should look roughly the size of a walnut in its shell.
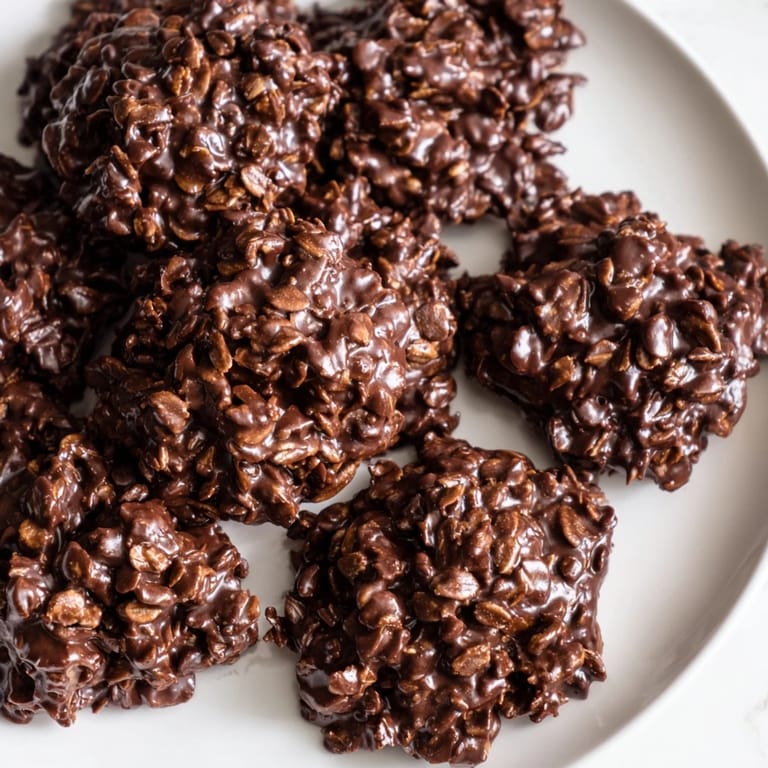
- Let time do the work:
- Set them on the counter at room temperature for about 20 minutes and resist the urge to move them around or test them too early. If you're impatient like I am, pop them in the fridge for 10 minutes instead and they'll be set and ready to eat.
 Pin It
 There was this one time I made these for my daughter's school bake sale, and I watched a kid take one, close his eyes while he ate it, and just smile. That's when I understood these aren't fancy or complicated, but they hit that note of satisfying chocolate goodness that makes people happy. Now I make them whenever I need a little reminder that the best treats are often the simplest ones.
Why These Cookies Beat Baking
No-bake might sound like you're cutting corners, but honestly you're just being smart about your time and energy. The stovetop gives you control in a way that's actually easier than managing oven temperature, and you get to taste the mixture at different stages so you know exactly what's happening. There's something freeing about it too, like you're making something just for the joy of it rather than following some rigid baking procedure.
Storage and Keeping Them Fresh
These cookies keep beautifully in an airtight container at room temperature for up to five days, though honestly they usually disappear before then. If your kitchen is particularly warm, you can refrigerate them to keep them firmer for longer, but let them come back to room temperature for a few minutes before eating so the chocolate stays tender.
Playing with Flavors and Textures
The base recipe is perfect as is, but I've learned it's also a really forgiving foundation for creativity. Once you understand how this works, you start seeing possibilities everywhere—a little espresso powder deepens the chocolate, chopped nuts add crunch, even shredded coconut transforms them into something new. The beauty is you're working with just five minutes of cooking, so experimentation doesn't feel risky.
- Sunflower seed butter makes a seamless substitution if peanuts are an issue, and honestly it tastes just as good with a slightly different flavor note.
- Stir in chopped walnuts, pecans, or almonds right at the end if you want texture, or shredded coconut for tropical vibes.
- A half teaspoon of instant espresso powder mixed with your cocoa creates an almost magical depth that chocolate lovers notice immediately.
 Pin It
 These cookies remind me why I love cooking—sometimes the magic isn't in technique or fancy equipment, it's in knowing that five minutes on the stove can turn simple ingredients into something that makes someone's day a little better. Keep making them.
Recipe FAQs
- → How do these chocolate oat drops set without baking?
The mixture thickens and firms as it cools, allowing the oats and binding ingredients to hold shape without heat exposure.
- → Can I substitute peanut butter for allergies?
Yes, sunflower seed butter works well as a nut-free alternative, maintaining texture and flavor.
- → What is the best way to store these treats?
Store in an airtight container at room temperature for up to 3 days or refrigerate to keep them firmer longer.
- → Can I add extra textures to these drops?
Adding chopped nuts or shredded coconut enhances texture and adds extra flavor complexity.
- → Are rolled oats necessary or can alternatives be used?
Old-fashioned rolled oats provide the best texture; quick oats can be used but may alter consistency slightly.