 Pin It
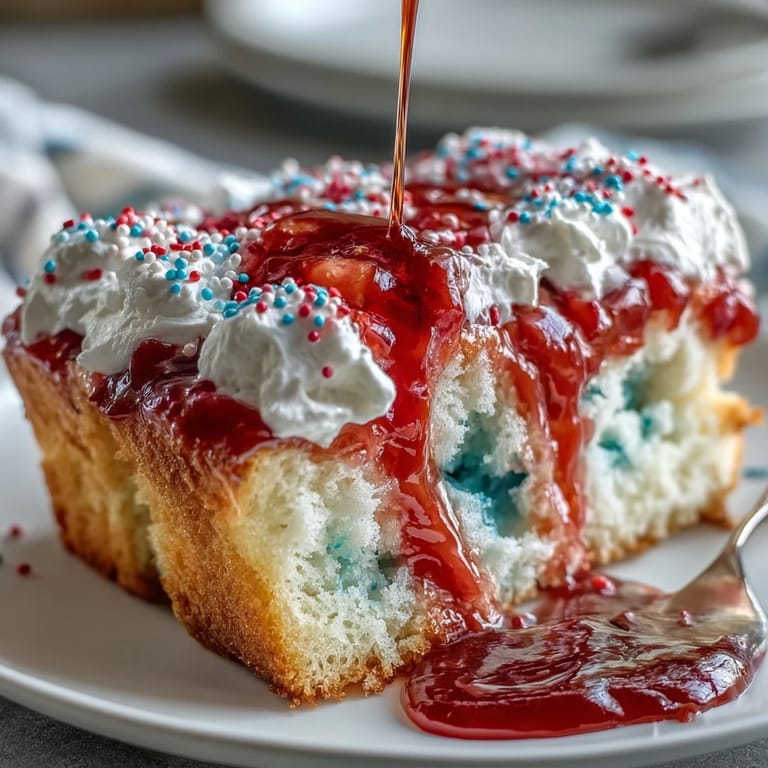
 The first time I made this Memorial Day Red White Blue Poke Cake, my kitchen looked like a confetti cannon had gone off – splotches of blue on the countertop, a smear of red on my cheek, and sprinkles everywhere. I hadn't planned for such a mess, but the laughter that came with it still echoes every time I bake this cake. There's something about poking holes in a perfectly good cake that feels delightfully mischievous. The sweet scent of berry gelatins blooming in hot water always takes over, instantly shifting the mood from ordinary to festive. When the whipped topping finally gets swirled on, it's impossible not to sneak a taste and grin at what’s become a tradition in my house.
Last Memorial Day, I brought this cake to a picnic and watched as a parade of sticky-fingered kids kept circling back for more, their faces bright with curiosity about how the colors got inside. The adults were just as amused, joking about whether they were eating art or dessert. We compared rogue sprinkle counts and swapped family barbecue stories as the cake disappeared, one square at a time. That afternoon, the cake felt like more than a recipe—it was a conversation starter. Everyone wanted the secret, and I loved passing it along.
Ingredients
- White cake mix: Starting with a box cake keeps things simple, but don't skimp on the beat time for a fluffier crumb.
- Water: Use room temperature if you can, so the mix blends evenly.
- Vegetable oil: I once tried substituting butter, but oil gives a lighter texture that lets the colors really pop.
- Large eggs: Cracking one-handed is trickier than you think, but the fresh eggs add rich lift to the cake.
- Strawberry or cherry-flavored gelatin: These bring that eye-popping red, and stirring slowly helps the powder dissolve without lumps.
- Berry blue gelatin: The blue is essential for that patriotic look, and cooling the mix prevents soggy cake spots.
- Boiling and cold water: Using really hot and really cold water means the gelatins set properly in the cake.
- Frozen whipped topping: Nothing beats the silky spread of thawed topping, though a homemade whipped cream is a fun twist when you have time.
- Red, white, and blue sprinkles: The final touch—use more than you think you should for full festive effect.
- Fresh strawberries and blueberries (optional): Sliced berries not only decorate the cake but add a burst of fruity freshness that complements the sweetness.
Tired of Takeout? 🥡
Get 10 meals you can make faster than delivery arrives. Seriously.
One email. No spam. Unsubscribe anytime.
Instructions
- Prep your pan:
- Grease a 9x13-inch baking dish well so your cake pops out smooth later. The scent of nonstick spray signals you're about to start something special.
- Make the cake batter:
- Beat together the white cake mix, water, oil, and eggs until it's thick and creamy, then pour it into the pan and spread it to every corner for even layers.
- Bake and cool:
- Bake at 350°F (175°C) for about 28–32 minutes until golden and a toothpick emerges clean from the center – then let it cool for 15 minutes to set the crumb.
- Poke and prep:
- Grab a wooden spoon handle and poke holes about every inch, all over—there’s a playful satisfaction in watching the steam curl up from each poke.
- Mix the gelatin colors:
- Stir each flavored gelatin into a cup of boiling water until fully dissolved, then add half a cup cold water to each for that perfect jiggly texture.
- Pour in the colors:
- Carefully pour the red gelatin over one half of the poked cake and blue over the other, filling holes but taking care not to drench the whole top—watch as the colors sink in mesmerizing streaks.
- Chill to set:
- Refrigerate the cake for at least 2 hours, letting the gelatins work their magic; patience is hard here, but totally worth it.
- Frost and finish:
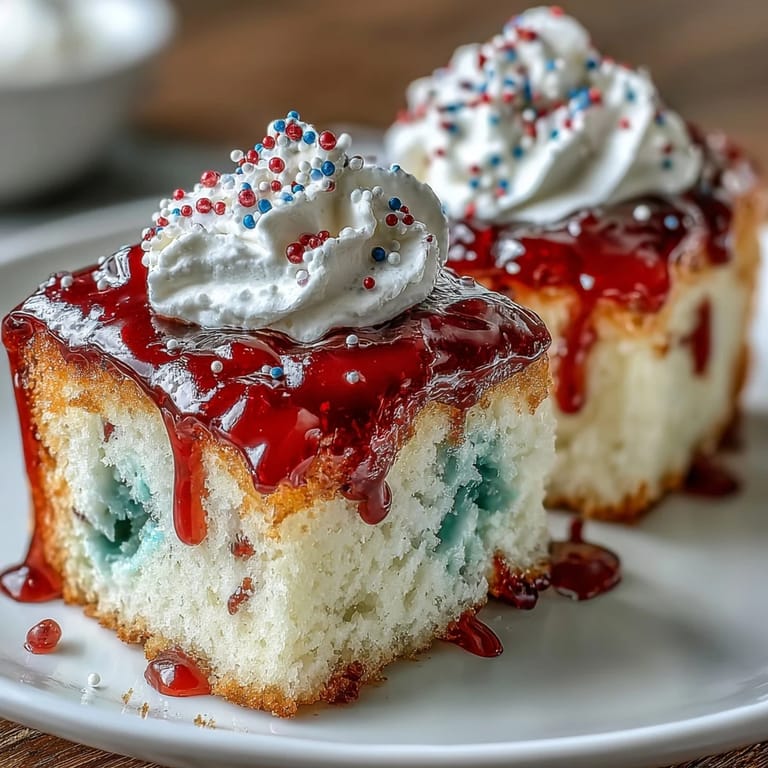
- Spread the fluffy whipped topping over the entire cake, then have fun scattering sprinkles and berries liberally—the more the merrier.
- Slice and serve:
- Cut chilled squares and serve, watching everyone's faces light up at the colorful surprise inside.
 Pin It
 Whenever someone takes their first bite and pauses, grinning at the blue and red streaks zigzagging through the cake, I remember how food can turn a simple moment into a celebration. It never fails to spark questions and laughter across the table.
How to Keep Your Cake Vibrant
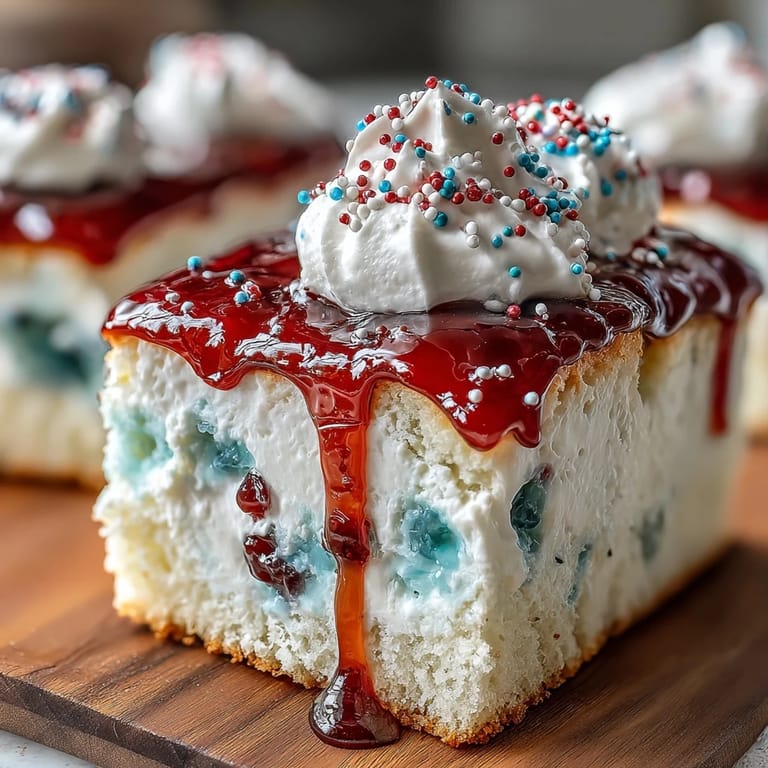
I've learned a quick chill before pouring in the gelatin helps each color stay bold instead of blending into a muddy hue. If you want ultra-sharp lines, pour the gelatins in alternating rows for a flag-like effect. For me, a little overlap makes each piece unique and less fussy to assemble.
Best Strategies for Serving at Gatherings
Transporting this cake used to be nerve-racking until I started chilling it in a sturdy, lidded baking dish. Serving it chilled is key—the topping keeps its structure and the colors really pop. If you’re serving outside, stash the cake in a cooler and slice just before dessert for the prettiest reveal.
Taking It Over the Top
On the most festive years, I dot the top with heaps of fresh berries just before serving, and once tried piping little whipped cream stars in the corners. Sometimes the simplest decorations feel the most fun, especially with kids helping. A few extra sprinkles in each slice’s center ups the whimsy, so don’t hold back.
- Chill your mixing bowls to help the whipped topping spread extra smooth.
- Let kids help poke the cake for hands-on fun.
- Always cut with a damp knife for picture-perfect squares.
 Pin It
 Whether you bring this poke cake to a party or whip one up for your own family, the colors and flavors are guaranteed to make memories as bright as your table. Hope your celebration is as sweet and spirited as every slice.
Recipe FAQs
- → How long should the cake chill before serving?
Chill for at least 2 hours to allow the gelatin to set, though 3–4 hours gives a firmer texture and cleaner slices. Keep refrigerated until ready to serve.
- → Can I use fresh berries inside the cake?
Fresh strawberries and blueberries make a great garnish on top. Avoid adding delicate fresh fruit into the warm gelatin or batter, as it can release juices and affect texture; add fruit just before serving.
- → Any tips for pouring the gelatin evenly?
Dissolve each gelatin in boiling then cold water as instructed, cool slightly, and pour slowly over designated holes. Alternate red and blue to keep colors distinct and tilt the pan minimally to prevent runoff between holes.
- → How do I prevent a soggy cake bottom?
Use a light, evenly baked white cake and allow it to cool briefly before poking holes so it retains structure. Pour gelatin gently and refrigerate promptly to set without saturating the base.
- → Can I make substitutions for dietary needs?
Use an egg-free or dairy-free white cake mix and non-dairy whipped topping for allergen-friendly versions. For a gelatin-free set, trial agar-agar with care—it sets differently and may need recipe adjustments.
- → What yields and tools are recommended?
This yields about 12 servings. Use a 9x13-inch baking dish, mixing bowls, an electric mixer or whisk, measuring tools, a wooden spoon for poking holes, and a spatula for topping.