 Pin It
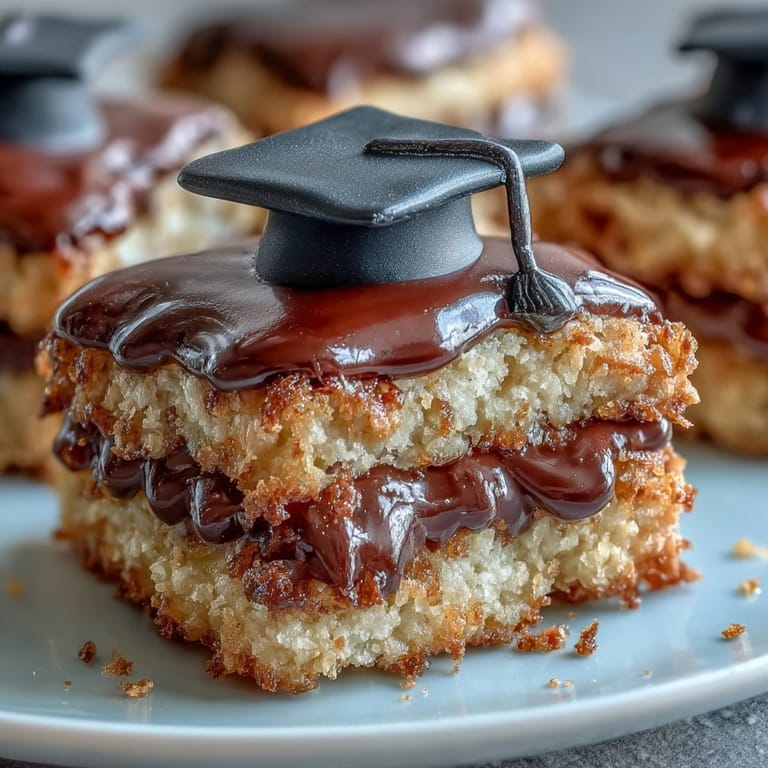
 My cousin texted me at 10 PM the night before her graduation party with a panic: she needed something special but didn't have time for elaborate decorating. I grabbed my phone and started sketching ideas, and these fondant mortarboard cookies came to life right there in my kitchen at midnight. The beauty of them isn't just how they look—it's that you can make them in an afternoon and still have time to breathe before the celebration. They've become my go-to graduation gift because they feel personal without demanding perfection.
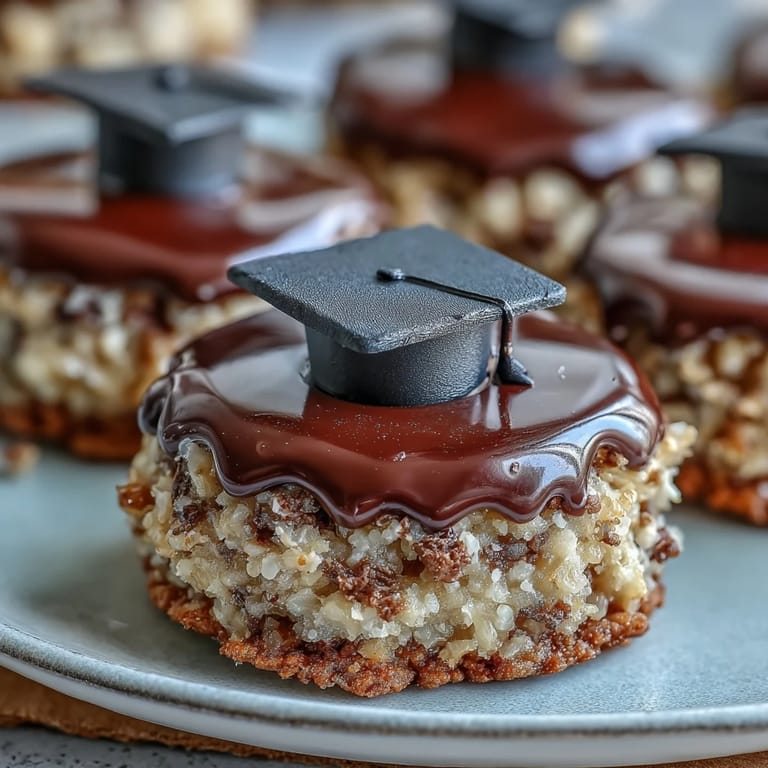
I still remember standing in my kitchen the afternoon of that party, piping tiny yellow tassels onto black fondant while my roommate hummed off-key and snapped photos. She kept saying they looked like tiny graduation hats and I kept laughing because that was exactly the point, but hearing her say it out loud made it suddenly real—these cookies were going to make someone's day a little sweeter. That's when I realized this recipe isn't just about baking; it's about showing up for people in a way that tastes like celebration.
Ingredients
- All-purpose flour: This is your foundation, and measuring by weight gets you the most reliable cookies every single time.
- Unsalted butter: Softened to room temperature so it creams properly with the sugar—cold butter makes your life harder than it needs to be.
- Granulated sugar: Gives the cookies that subtle crunch around the edges that makes people ask for more.
- Large egg: Brings richness and helps bind everything together without making the cookies cake-like.
- Pure vanilla extract: The real stuff matters here because it's one of just a few flavors in this simple dough.
- Black fondant: The star of the show for the mortarboard top—you can find it in the baking aisle or order it online.
- Yellow fondant: Creates those little tassels that make people smile when they realize what they're looking at.
- Powdered sugar and milk: Mixed into a simple glue that holds your fondant decorations in place without tasting weird.
Tired of Takeout? 🥡
Get 10 meals you can make faster than delivery arrives. Seriously.
One email. No spam. Unsubscribe anytime.
Instructions
- Preheat and prep your space:
- Get your oven to 350°F and line those baking sheets with parchment—this prevents sticking and makes cleanup something you'll actually be grateful for. Having everything ready before you start mixing is the difference between a smooth bake and running around frantically halfway through.
- Combine your dry ingredients:
- Whisk the flour, baking powder, and salt together in a medium bowl and set it aside. This distributes the leavening evenly so every cookie rises just right.
- Cream butter and sugar until fluffy:
- Beat them together for about 2 to 3 minutes until the mixture looks pale and airy—this is where the magic starts. When you're creaming correctly, the mixture should look almost like wet sand, not dense or oily.
- Add egg and vanilla:
- Beat these in until everything is combined and you don't see streaks anymore. This step takes less than a minute but changes everything about the final texture.
- Fold in your dry mixture:
- Add the flour blend gradually while mixing on low speed, stirring just until the streaks of flour disappear. Overmixing here makes cookies tough, so stop the moment everything comes together.
- Roll and cut your cookies:
- Flour your work surface lightly and roll the dough to 1/4-inch thickness, then cut into 2 1/2-inch rounds or squares—whatever shape feels celebratory to you. If the dough gets sticky, pop it in the fridge for 10 minutes and it'll cooperate beautifully.
- Bake until the edges turn golden:
- Bake for 10 to 12 minutes and watch for that moment when the edges just barely hint at color—that's your signal they're done. Underbaked cookies will set up as they cool, so resist the urge to leave them in any longer.
- Cool completely before decorating:
- Let them sit on a wire rack until they're absolutely cool and firm, which takes about 30 minutes. Warm cookies plus fondant equals a melty mess you don't want to deal with.
- Prepare your fondant pieces:
- Roll black fondant to 1/8-inch thickness and cut 24 small squares for the mortarboard tops, then roll out tiny cylinders for the bases. Dust with a little cornstarch so the fondant doesn't stick to itself or your work surface.
- Shape your fondant tassels:
- Roll yellow fondant into thin ropes and cut them into 1-inch lengths, then shape them however you like—a little loop or twist makes them look authentic. These little details are what turn a cookie into a conversation starter.
- Make your icing glue:
- Mix powdered sugar, milk, and vanilla until you get a smooth consistency thick enough to hold fondant in place but thin enough to spread. If it's too thick, add milk a few drops at a time.
- Assemble your mortarboard cookies:
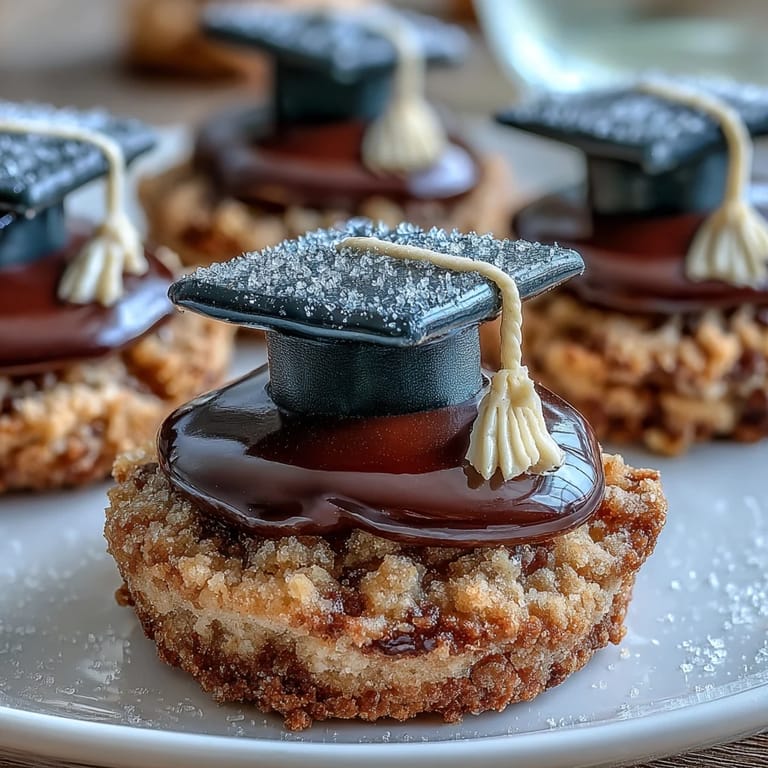
- Dab icing in the center of each cookie, press down the fondant cylinder base, then place the black square on top—that's your mortarboard. Attach the yellow tassel to one corner with a tiny dab of icing and let everything set for 20 to 30 minutes before you even think about moving them.
 Pin It
 There's something almost magical about watching someone open a box of these cookies at a graduation celebration, their eyes going wide before they smile that smile that says they get it—that you made something just for them, just for this moment. That's the moment that makes every minute of rolling fondant and piping tiny tassels completely worth it.
Customizing Your Cookies
School colors are your secret weapon here; grab fondant in your grad's colors and swap out the black and yellow completely. I made a batch in forest green and gold once and the graduate's mom literally cried when she saw them—small gestures like that stick with people.
Storage and Gifting
Keep these in an airtight container and they'll stay fresh and delicious for up to 5 days, which means you can bake them a couple days ahead without stress. For gifting, layer them between parchment paper in a pretty box—they travel beautifully and look impressive without any extra effort on your part.
Quick Shortcuts and Time-Savers
Life gets busy right before celebrations, so there's absolutely no shame in using store-bought sugar cookie dough if you need to save time on the baking side. Pre-colored fondant exists for exactly this reason, and using it doesn't make your gift any less thoughtful or special.
- Buy pre-made fondant in your school colors to skip the coloring step entirely.
- Use a round cookie cutter for mortarboards instead of cutting squares—they're easier to decorate and look just as festive.
- Make the fondant pieces the day before and keep them in an airtight container so assembly day moves even faster.
 Pin It
 These cookies have a way of becoming memories—the ones people talk about long after they've finished eating them. Bake them with care and they'll celebrate someone's achievement in the sweetest possible way.