 Pin It
 There's something magical about watching sugar transform from granules into liquid gold, and I discovered that magic entirely by accident one rainy afternoon when I couldn't find store-bought caramels for a gift. What started as a desperate kitchen experiment became an obsession, not just because homemade caramels taste infinitely better than anything wrapped in plastic, but because that first batch taught me that timing, temperature, and a sprinkle of flaky sea salt could turn three simple ingredients into something genuinely luxurious. Now I make these constantly, partly to keep on hand and partly because the ritual of it—the careful watching, the precise temperatures, the anticipation—feels like a small meditation.
I remember bringing a batch to my neighbor after she helped us move, and watching her face light up when she bit into one was worth every careful minute at the stove. She called me three days later asking for the recipe, then came back a week later saying she'd already made three batches and given them all away.
Ingredients
- Heavy cream: This is your secret weapon for silky, tender caramels that don't turn grainy as they cool, and the fat content means they'll stay soft no matter the room temperature.
- Unsalted butter: Cut it into pieces so it melts quickly into the cream and creates that distinctive rich flavor caramels are known for.
- Granulated sugar: Don't skip this or substitute it—it dissolves smoothly and gives you precise control over the caramel stage.
- Light corn syrup: This prevents crystallization when you cook the sugar, which means no grainy disasters.
- Water: Just enough to help the sugar dissolve evenly before cooking.
- Pure vanilla extract: Added at the very end so the heat doesn't cook off those delicate vanilla notes.
- Fine sea salt: This goes into the caramel mixture itself for depth and balance.
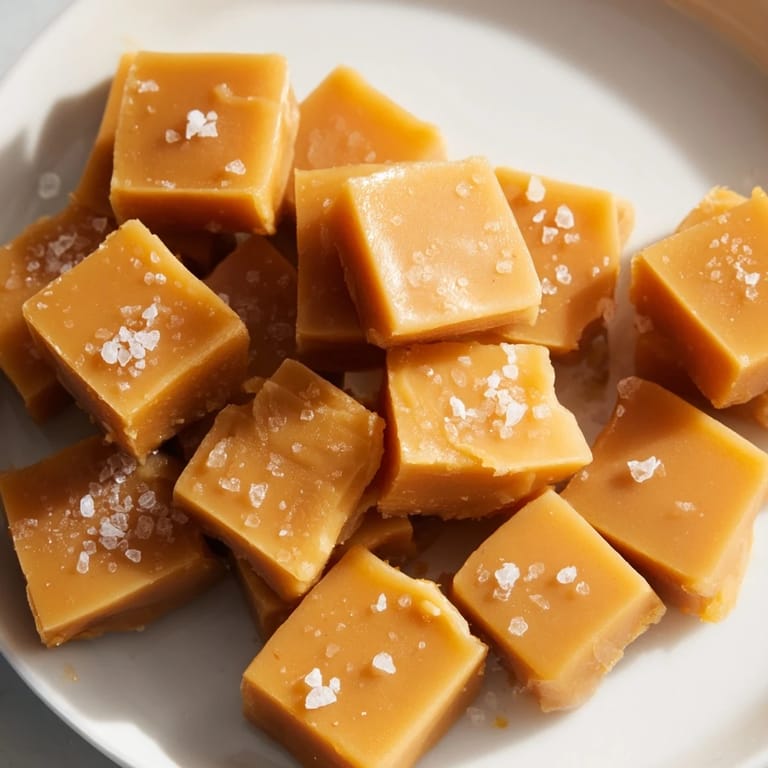
- Flaky sea salt: The finishing touch that makes these special, with those visible crystals that catch your tooth.
Tired of Takeout? 🥡
Get 10 meals you can make faster than delivery arrives. Seriously.
One email. No spam. Unsubscribe anytime.
Instructions
- Prepare your pan:
- Line your 8x8-inch pan with parchment paper, leaving overhang on two sides so you can lift the whole slab out later without fussing. A light butter on the parchment prevents sticking and makes cutting easier.
- Warm the cream and butter:
- In a small saucepan over medium heat, let the butter melt into the cream until everything is hot but not boiling. This step keeps things from shocking the caramel when you combine them later, which matters more than you'd think.
- Start the caramel:
- Combine sugar, corn syrup, and water in your heavy-bottomed saucepan and stir gently until combined, then stop stirring entirely. Let it cook over medium heat so the sugar dissolves naturally without breaking or crystallizing.
- Raise the heat and watch the color:
- Once the sugar has dissolved, turn heat up to medium-high and bring it to a boil without stirring. You're waiting for that moment when it turns a light golden color—not amber yet, not dark—which happens around 320°F on your thermometer.
- Combine with cream:
- This is the dramatic moment: slowly pour the warm cream mixture into the hot caramel while stirring constantly. It will bubble and hiss like it's angry, but keep stirring calmly until the temperature reaches 245°F for soft caramels or up to 250°F if you prefer them slightly firmer.
- Finish the flavor:
- Remove from heat and stir in the vanilla extract and fine sea salt, which should take just a few seconds but makes all the difference.
- Pour into the pan:
- Immediately pour the hot caramel into your waiting pan and let it sit undisturbed for about 5 minutes, then sprinkle that flaky sea salt across the top in an even layer.
- Cool with patience:
- Leave it on the counter for about 2 hours until it's completely firm to the touch. This is the hardest part because it smells incredible, but rushing it ruins the texture.
- Cut and wrap:
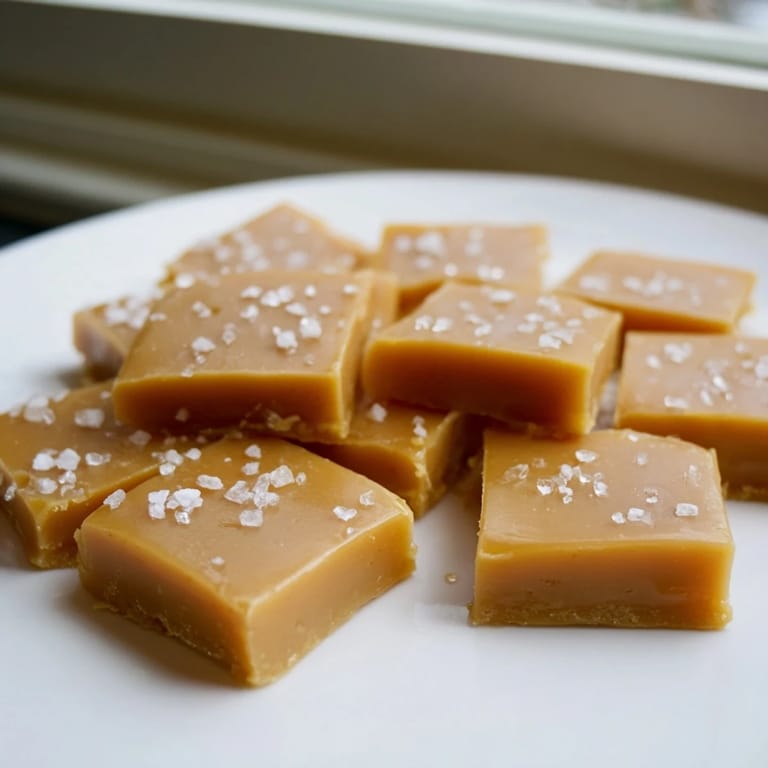
- Use the parchment overhang to lift the whole slab out, then cut into 1-inch squares with a sharp knife wiped clean between cuts. Wrap each piece in wax paper or cellophane to keep them from sticking together.
 Pin It
 These caramels became the reason a friend learned to cook candy in the first place, because she asked for the recipe so many times that I finally just showed her the process. Watching someone realize they could make something this delicious from ordinary pantry ingredients changed how she thought about home cooking entirely.
The Science of Soft Caramel
What makes homemade caramels different from the store-bought kind isn't magic—it's actually the cream and butter working at the molecular level to prevent sugar crystals from forming as the candy cools. The corn syrup adds insurance by interfering with crystallization, while the water lets everything dissolve evenly before cooking. Once you understand that this whole process is really just controlled sugar chemistry, you'll stop being nervous and start being confident.
Variations Worth Trying
I've added cinnamon, espresso powder, and even a hint of cardamom to different batches, always stirring them in with the vanilla at the end so they stay bright and clear-tasting. My favorite unexpected twist came from browning the butter first before mixing it with the cream—it adds this nutty depth that makes people pause and ask what's different. You can also dip finished caramels halfway in melted dark chocolate, which transforms them into something you'd swear came from a fancy candy shop.
Storage and Gifting
Kept in an airtight container at room temperature, these last up to two weeks, though I've never seen a batch last that long. I layer them between parchment in a pretty jar with a label, and they've become my signature gift because they're homemade without looking fussy, personal without requiring an explanation.
- Stack them in a box with parchment between layers to prevent sticking and make them gift-ready instantly.
- A small handwritten note about the sea salt trick makes people feel like you've shared a real cooking secret with them.
- If giving them away, always mention they're best enjoyed within a few days when the texture is at its absolute prime.
 Pin It
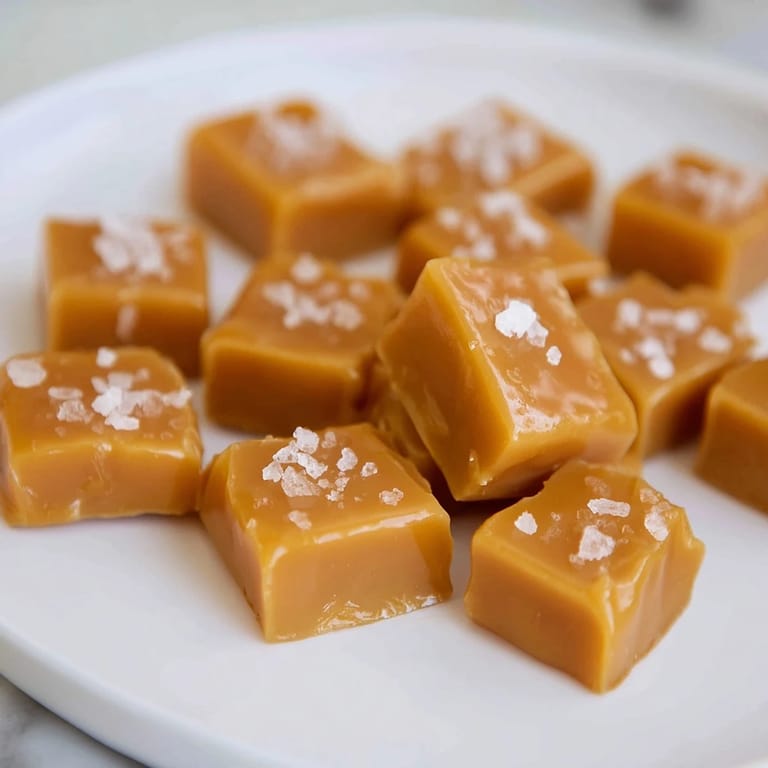
 These caramels remind me that some of the best things to share start with paying attention to small details—the exact moment sugar turns golden, the way flaky salt catches the light on dark caramel, the genuine joy on someone's face when they taste something you made yourself. That's worth every second at the stove.
Recipe FAQs
- → How do I achieve a soft texture in caramels?
Cooking the caramel mixture to around 245°F (118°C) ensures a soft, chewy consistency. Precise temperature control is key.
- → Why is sea salt added on top?
Flaky sea salt provides a subtle salty contrast that enhances the sweet richness of the caramel, creating a balanced flavor profile.
- → Can I brown the butter for extra flavor?
Yes, browning the butter before combining it with cream adds a nutty depth that enriches the overall taste.
- → How should I store these confections?
Keep them in an airtight container at room temperature for up to two weeks to maintain their texture and flavor.
- → What tools are essential for making these caramels?
A candy thermometer, saucepans, an 8x8-inch pan lined with parchment, and a sharp knife are necessary for precise cooking and easy handling.
- → Can these be customized with coatings?
Dipping finished pieces in melted dark chocolate adds a rich layer, enhancing flavor and texture.