 Pin It
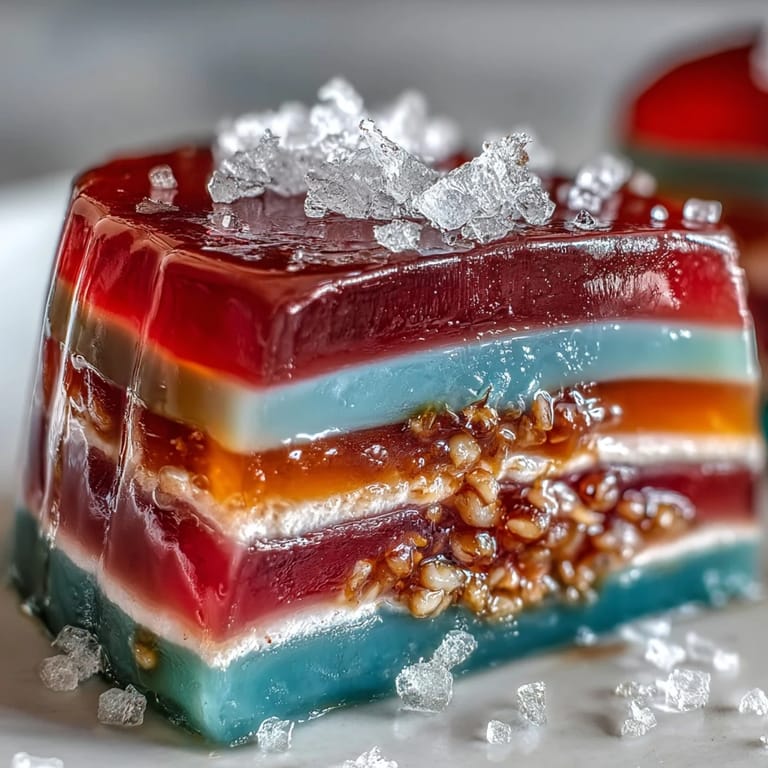
 The first time I made a Rainbow Jelly Cake, a kaleidoscope of colors instantly lifted the mood in my kitchen. The faint, tropical aroma of coconut cream greeted me as I hovered over the simmering saucepan. There’s something strangely meditative about slowly layering the shades, waiting for each hue to set while stealing glances at how the stripes transformed. I even caught my neighbor’s kids peeking in through the window, giggling over the parade of bowls lined up on the counter. It’s the kind of dessert that turns a regular afternoon into an unexpected celebration.
I remember assembling this cake for a summer potluck—sticky fingers and all—while a chorus of “oohs” and “wows” erupted as I unmolded it. Nothing brings people together like the suspense of revealing perfectly stacked, shimmering rainbow layers.
Ingredients
- Agar-agar powder: Essential for that firm, elegantly bouncy texture that sets each layer beautifully; whisk briskly to avoid tiny clumps.
- Granulated sugar: Brings subtle sweetness but keep stirring until all the grains dissolve for a clear jelly finish.
- Water: Acts as the canvas, so measure carefully for the right firmness—too much, and it won’t hold the shape.
- Food colorings: Choose bold gel or natural tints, and use a light hand at first—it’s easier to deepen than to reverse a color.
- Vanilla extract (optional): Adds a whisper of warmth if you want a gentle backdrop for the fruity shades.
- Coconut cream: The thick, creamy layer is what makes every slice memorable—shake the can well before using to ensure consistency.
- Salt: Just a pinch sharpens the coconut flavor so it’s never flat or overly sweet.
Tired of Takeout? 🥡
Get 10 meals you can make faster than delivery arrives. Seriously.
One email. No spam. Unsubscribe anytime.
Instructions
- Make the jelly base:
- Combine agar-agar powder and water in a saucepan, stirring as the mixture heats until it’s clear and no specks remain. The kitchen fills with a floral aroma—add sugar and vanilla extract, stirring until glossy and smooth.
- Color and divide:
- Remove from heat, then divide equally into six bowls. Tint each with a different food coloring, swirling gently so the colors gleam without bubbles.
- Layer the rainbow:
- Pour one colored bowl at a time into the mold starting with red. Wait for each to just set—touch it, and if it barely gives, you’re ready for the next color.
- Create the coconut cream:
- In a clean pan, mix agar-agar powder, water, and coconut cream, bringing to a gentle simmer. Stir in sugar and a pinch of salt until everything melds together and the coconut scent deepens.
- Top the cake:
- After the final jelly layer has set, slowly pour over the warm coconut cream mixture—move the mold a little to even out the surface. Let it cool and finish setting on the counter.
- Chill and unmold:
- Refrigerate at least one hour. Run a thin spatula around the edge before inverting onto a plate for that satisfying moment of reveal.
- Serve it up:
- Slice carefully with a sharp knife, letting each piece show off its layers. Serve the slices ice-cold for the most refreshing texture.
 Pin It
 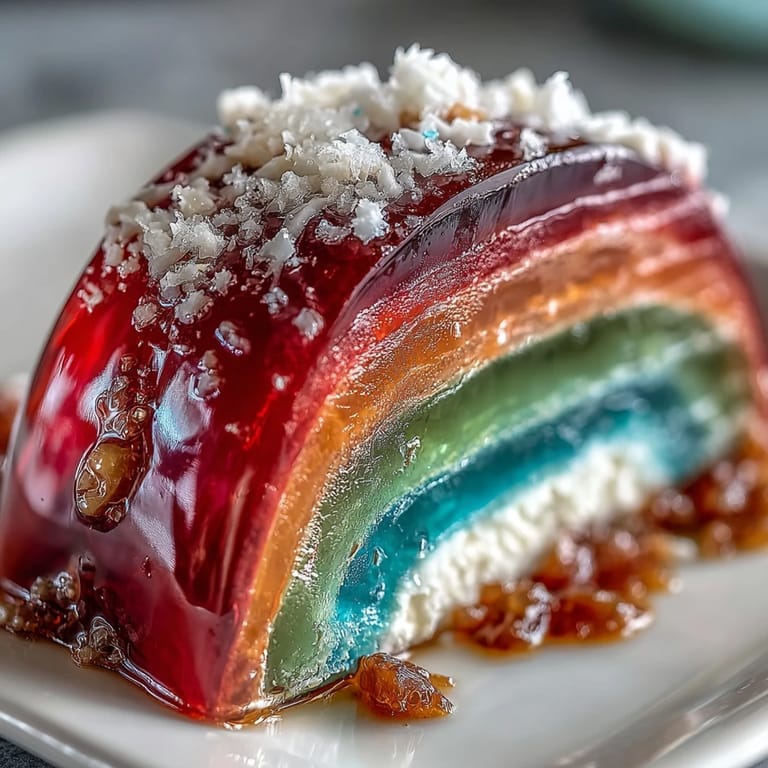 Pin It
 The first time my friend tasted this, she honestly just stared at her plate for a good minute before taking a bite—sometimes, a dish becomes a memory all on its own.
When to Serve Rainbow Jelly Cake
This cake has made appearances on humid afternoons, kids’ birthdays, and as a cool finish to fiery curries at family get-togethers. I’ve learned it’s just as welcome on casual picnics as at fancier dinner parties—serve it anywhere smiles are needed.
Making Layers Without Stress
Here’s my favorite trick: set a timer for each layer and tidy up between pours. Pause to wipe out drips, and it becomes almost a meditative process rather than a rush to the finish.
Ingredient Substitutions and Fun Extras
Swapping in rose or pandan extract for the vanilla completely changes the mood of the cake, and I love experimenting with natural color powders like beetroot or spirulina. Sometimes I tuck in a berry or edible flower just before the coconut layer for a little surprise inside.
- Remember to use food-safe colors if little ones will be enjoying the cake.
- If you don’t have coconut cream, coconut milk works—just expect a softer bite.
- Let each layer set fully on the counter before chilling so condensation doesn’t cloud the colors.
 Pin It
  Pin It
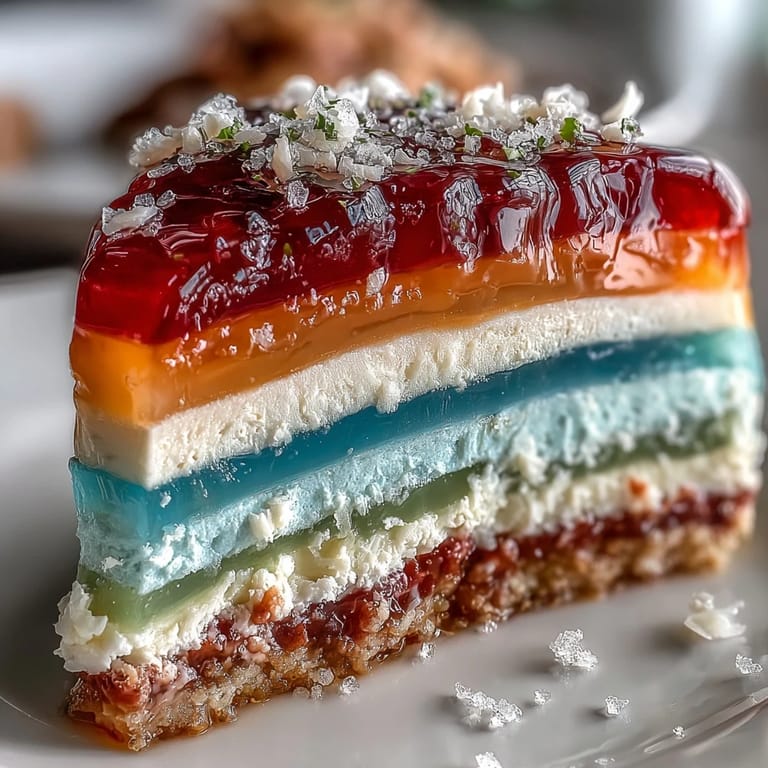
 No matter how many times I make this, revealing those neat, cheerful stripes never fails to make me grin. Here’s to sharing slices of pure color and a bit of wonder.
Recipe FAQs
- → How do I ensure clean, even layers?
Pour each colored agar mixture into the mold and let it cool until just set but still slightly tacky (about 5–8 minutes). This helps the next layer adhere without melting the previous one. Work quickly and level each layer with a spatula if needed.
- → Can I substitute agar-agar with gelatin?
Agar-agar sets firmer and at room temperature, producing a slightly different texture from gelatin. If using gelatin, expect a softer, more wobbly set and adjust quantities per package instructions; chilling requirements also differ.
- → How do I get vibrant yet natural colors?
Use concentrated natural food colorings or vegetable-based colors sparingly—start with a few drops and increase to taste. Beet for red, carrot or turmeric for orange/yellow, spinach for green and butterfly pea for blue provide vivid hues without artificial additives.
- → What keeps the coconut cream layer from seeping into the jelly?
Allow the final colored layer to fully firm in the fridge before pouring the warm coconut cream agar. Pour gently and from a low height to avoid disturbing the surface; a slightly cooled but still pourable coconut mix helps maintain defined layers.
- → How should I store leftovers?
Cover the finished cake and refrigerate for up to 3 days. Keep it chilled to maintain firmness; return slices to the fridge between servings to preserve texture and clean edges.
- → Any tips for slicing and serving?
Loosen edges with a thin knife and invert onto a plate. For neat slices, chill until very firm, then use a hot, dry knife wiped between cuts to get clean edges and prevent smearing of layers.