 Pin It
 There's something about October that makes me crave this soup—not because of any grand tradition, but because I was standing in a farmer's market one crisp afternoon, surrounded by the season's bounty, when a vendor handed me a sample of roasted butternut squash. That one bite changed how I thought about soup entirely. What followed was an afternoon of experimenting, adding maple syrup almost by accident (I'd knocked over a bottle), and discovering that the best soups are the ones born from happy mistakes. This velvety butternut squash soup became my answer to those days when the weather turns cool and comfort feels non-negotiable.
I made this for my sister on a Sunday when she was going through a rough week—she showed up tired and left three hours later, having eaten two bowls and asked for the recipe before she even got to her car. There's quiet magic in watching someone soften over something warm and gently spiced, the kind of magic that has nothing to do with technique and everything to do with showing up for people with food that cares.
Ingredients
- 1 large butternut squash (about 1.2 kg / 2.5 lbs), peeled, seeded, and cubed: This is where the soul of the soup lives—roasting transforms the squash into something almost nutty and impossibly sweet, which is why we don't skimp on this step.
- 1 medium yellow onion, chopped: It dissolves into the broth and builds a gentle foundation of flavor that lets the squash shine.
- 2 cloves garlic, minced: Just enough to whisper its presence without overpowering the delicate spices.
- 1 liter (4 cups) vegetable broth: Use the good stuff—you can taste the difference in every spoonful.
- 250 ml (1 cup) water: This keeps the soup from becoming too concentrated and lets the squash flavor breathe.
- 120 ml (1/2 cup) coconut milk or heavy cream: Coconut milk adds a subtle tropical note and keeps it vegan; cream makes it richer and almost dessert-like.
- 2 tbsp pure maple syrup: Real maple syrup matters here—the fake stuff tastes like regret in a bottle.
- 1/4 tsp ground nutmeg: This tiny amount is the secret handshake between sweet and savory.
- 1/2 tsp ground cinnamon: It ties everything together and makes your kitchen smell like someone who has their life together.
- 2 tbsp olive oil: Divided between roasting and sautéing to build depth.
- Salt and freshly ground black pepper, to taste: Don't skip the grinding—pre-ground pepper tastes like dust by comparison.
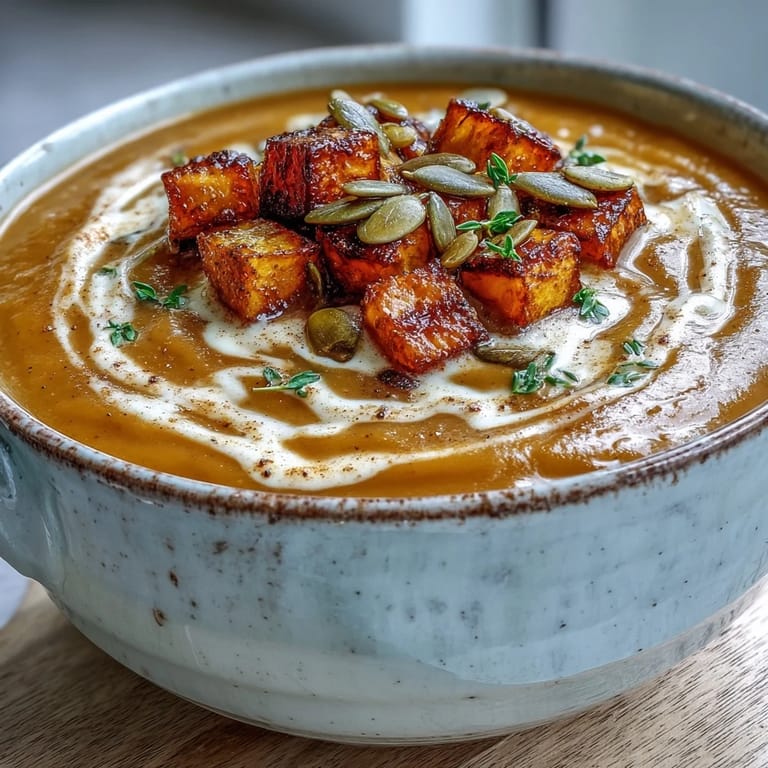
- Toasted pumpkin seeds, maple syrup drizzle, and fresh thyme (optional garnish): These finish the bowl with texture and visual appeal, though honestly, the soup is stunning on its own.
Tired of Takeout? 🥡
Get 10 meals you can make faster than delivery arrives. Seriously.
One email. No spam. Unsubscribe anytime.
Instructions
- Heat your oven and prep the squash:
- Preheat to 200°C (400°F) while you cube your butternut squash—use a sharp knife and steady hands, as the skin can be tough. If your knife slips, ice your fingers for a minute rather than pushing through; I learned this the hard way on a Tuesday morning.
- Roast until caramelized:
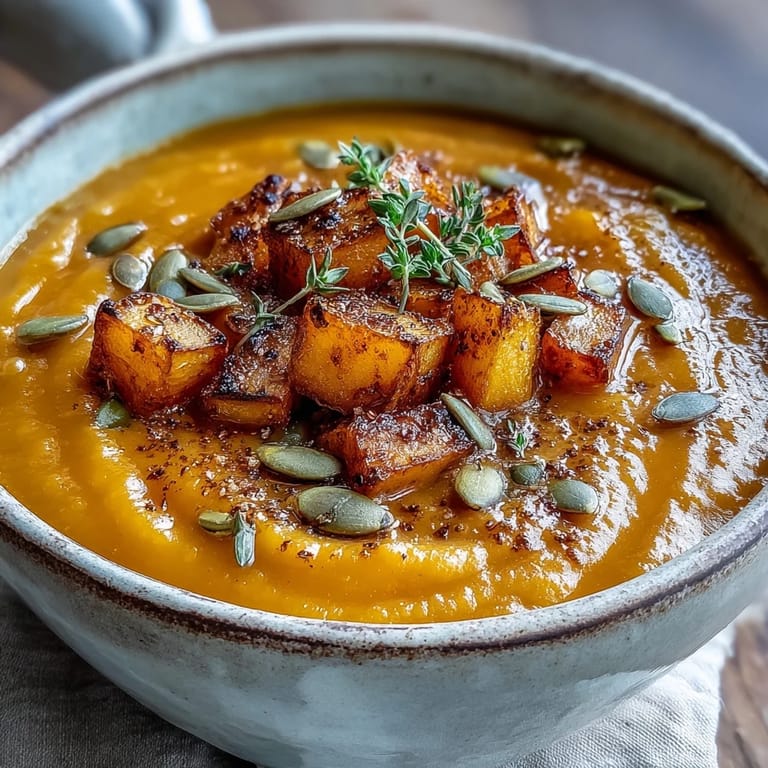
- Toss the squash cubes with 1 tablespoon olive oil, salt, and pepper on a baking sheet, then roast for 30–35 minutes, turning once halfway through. You'll know it's done when the edges turn golden and the pieces are so tender a fork goes through like butter.
- Build the base:
- While the squash roasts, heat 1 tablespoon olive oil in a large pot over medium heat, then add your chopped onion and sauté until it turns translucent and soft—about 4–5 minutes. Add the minced garlic and let it bloom for 1 minute, filling your kitchen with that unmistakable smell that means something good is happening.
- Combine and simmer:
- Add the roasted squash to the pot along with vegetable broth, water, maple syrup, nutmeg, and cinnamon, then stir well and bring to a boil. Reduce heat and simmer for 10 minutes to let all the flavors get acquainted and settle into one unified, warm voice.
- Blend into velvet:
- Using an immersion blender (the easiest path), purée the soup until smooth and creamy—or carefully transfer to a countertop blender in batches if that's what you have. The transformation from chunky to silky happens in seconds and never stops feeling like magic.
- Finish and taste:
- Stir in your coconut milk or cream, then taste and adjust salt and pepper as needed—this is your moment to season it exactly how your palate wants it. Reheat gently if necessary, then ladle into bowls and crown with pumpkin seeds, a drizzle of maple syrup, and fresh thyme.
 Pin It
  Pin It
 There's a particular quiet that falls over a table when people taste this soup and pause mid-spoon, the kind of silence that means they're tasting autumn and comfort at the same time. That's the moment this recipe stops being instructions and becomes an experience.
The Roasting Revelation
The first time I made this soup, I tried to shortcut the roasting by just boiling the squash, and the result was pale and watery and frankly forgettable. The next time, I roasted it, and the difference was so dramatic I felt like I'd discovered fire. Roasting caramelizes the natural sugars, deepens the flavor, and transforms the texture from watery to almost silky—it's the difference between a quick lunch and something you'd order at a restaurant and ask for the recipe.
Cream Versus Coconut: Which is Right for You
I've made this soup both ways depending on who's coming to dinner and what I have in my pantry, and both versions are valid for completely different reasons. Heavy cream makes it luxuriously rich and almost dessert-like, while coconut milk adds a subtle sweetness and keeps it vegan without sacrificing creaminess. The choice is yours, but commit to it fully—mixing them is fine, but choosing beforehand means you taste exactly what you meant to make.
Serving and Storage Wisdom
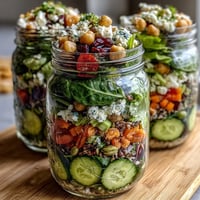
This soup tastes even better the next day, after the spices have had time to settle and deepen—I often make it on a Sunday for the week ahead, storing it in mason jars in the fridge where it lasts about four days. It also freezes beautifully for up to three months, which means you can capture autumn in a container and thaw it on a gray March afternoon when you need to remember why you love cooking.
- Serve with crusty bread if you want to turn soup into a meal, or alongside a sharp green salad to balance the sweetness.
- A pinch of cayenne pepper stirred in at the end adds a gentle heat that makes people ask what your secret ingredient is.
- If you're entertaining and need to make this ahead, reheat it gently on the stove rather than the microwave—it tastes smoother that way.
 Pin It
 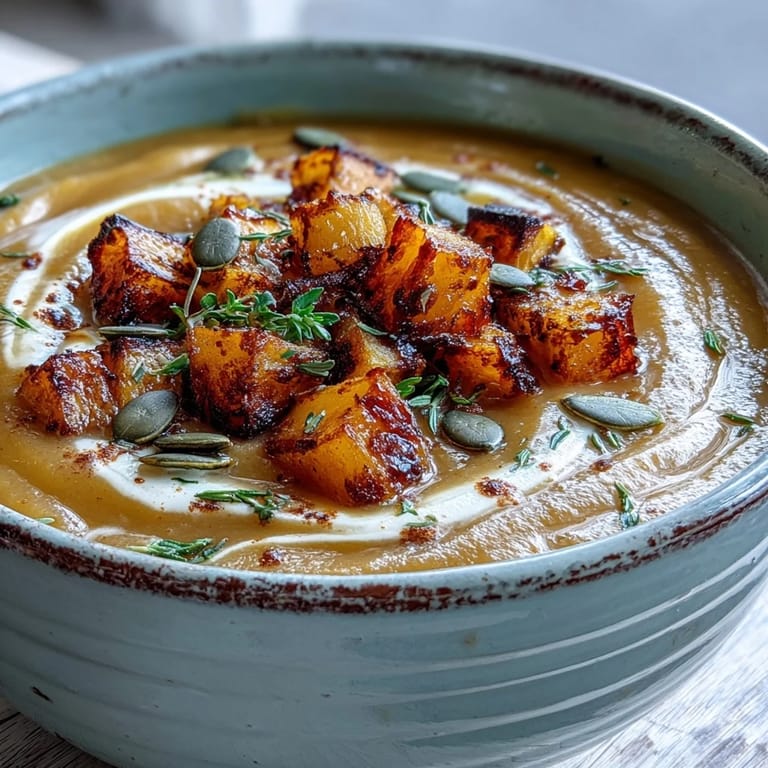 Pin It
 This soup is proof that the simplest ingredients, treated with care and patience, become something people remember. Make it when the season turns, make it for someone you love, or make it just because your kitchen deserves to smell like warmth and maple.
Recipe FAQs
- → Can I make this soup ahead of time?
Yes, this soup stores beautifully in the refrigerator for up to 4 days. Reheat gently on the stovetop, adding a splash of broth if needed to adjust consistency.
- → What can I use instead of maple syrup?
Honey or brown sugar work well as substitutes. Start with 1 tablespoon and adjust to taste, as sweetness levels vary.
- → How do I make this soup vegan?
Simply use coconut milk instead of heavy cream. Ensure your vegetable broth is also vegan-friendly by checking the label.
- → Can I skip roasting the butternut squash?
While you can steam or boil the squash instead, roasting caramelizes the natural sugars and creates a deeper, more complex flavor that's worth the extra time.
- → What's the best way to cut butternut squash safely?
Cut off both ends first, then stand it upright to peel with a sharp vegetable peeler. Slice in half lengthwise, scoop out seeds, then cut into uniform cubes for even roasting.
- → Can I freeze this soup?
Absolutely. Cool completely, then freeze in airtight containers for up to 3 months. Thaw overnight in the refrigerator and reheat gently on the stovetop.